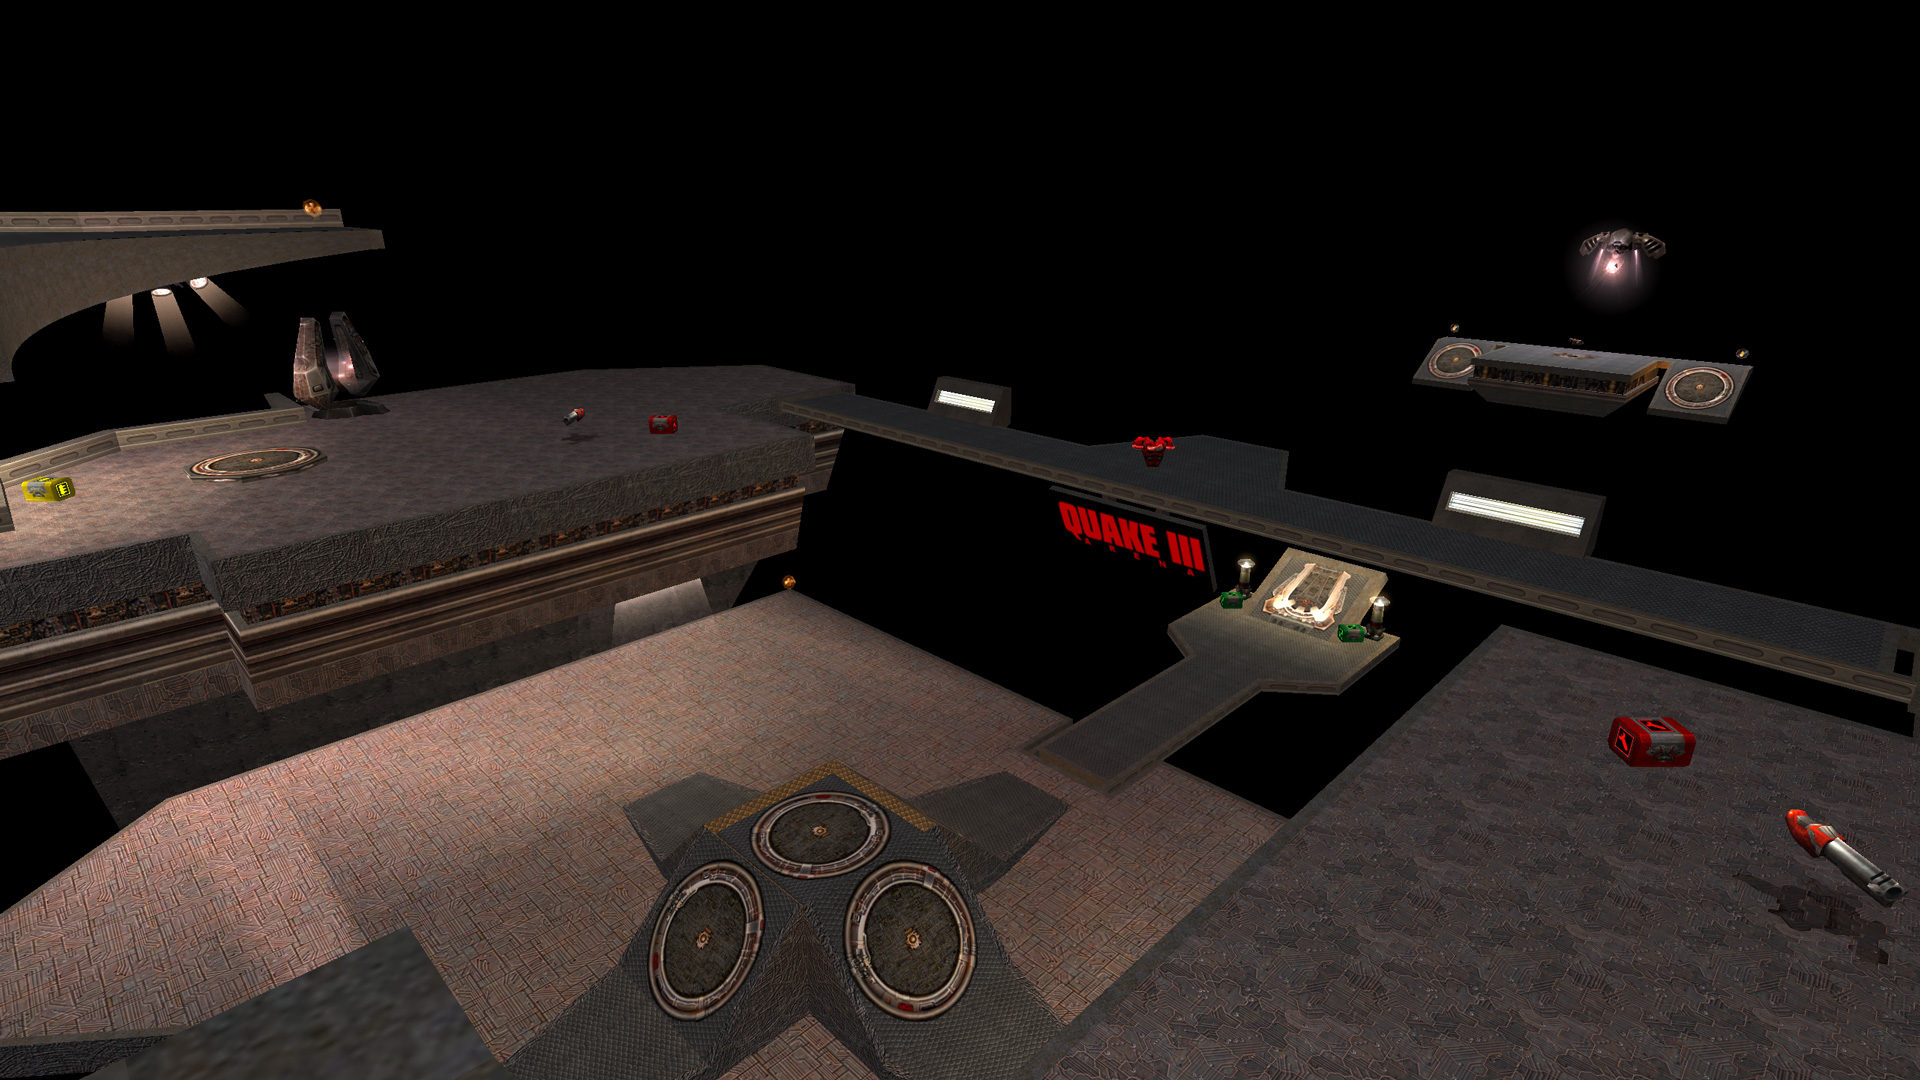
The last time I was this into level editing was when Half-Life 2 was at the peak of its popularity. I was so obsessed, in fact, that I recreated my favorite level from Quake III, Q3DM17, using the Source engine. I even remember getting the bounce pads working; I’ll have to dig up the original files somewhere in my backups.
The iconic Q3DM17.
So now I’m feeling a little obsessed again. I just started my third Doom map, and at this point I think I might as well create an entire episode of eight maps. My latest endeavor has been creating a beach on the shores of hell. I’ve been experimenting with custom texture re-colors for various shades of sand. But those details warrant their own post, so enjoy these screenshots instead.
I’ve had quite a nostalgia trip running the past few weeks. I decided to revisit the first game I ever played, Doom. Along the way I’ve been making attempts at level editing – something I hadn’t tried since I was a teenager. Fortunately for myself, I finally figured out how to make a door after all these years.
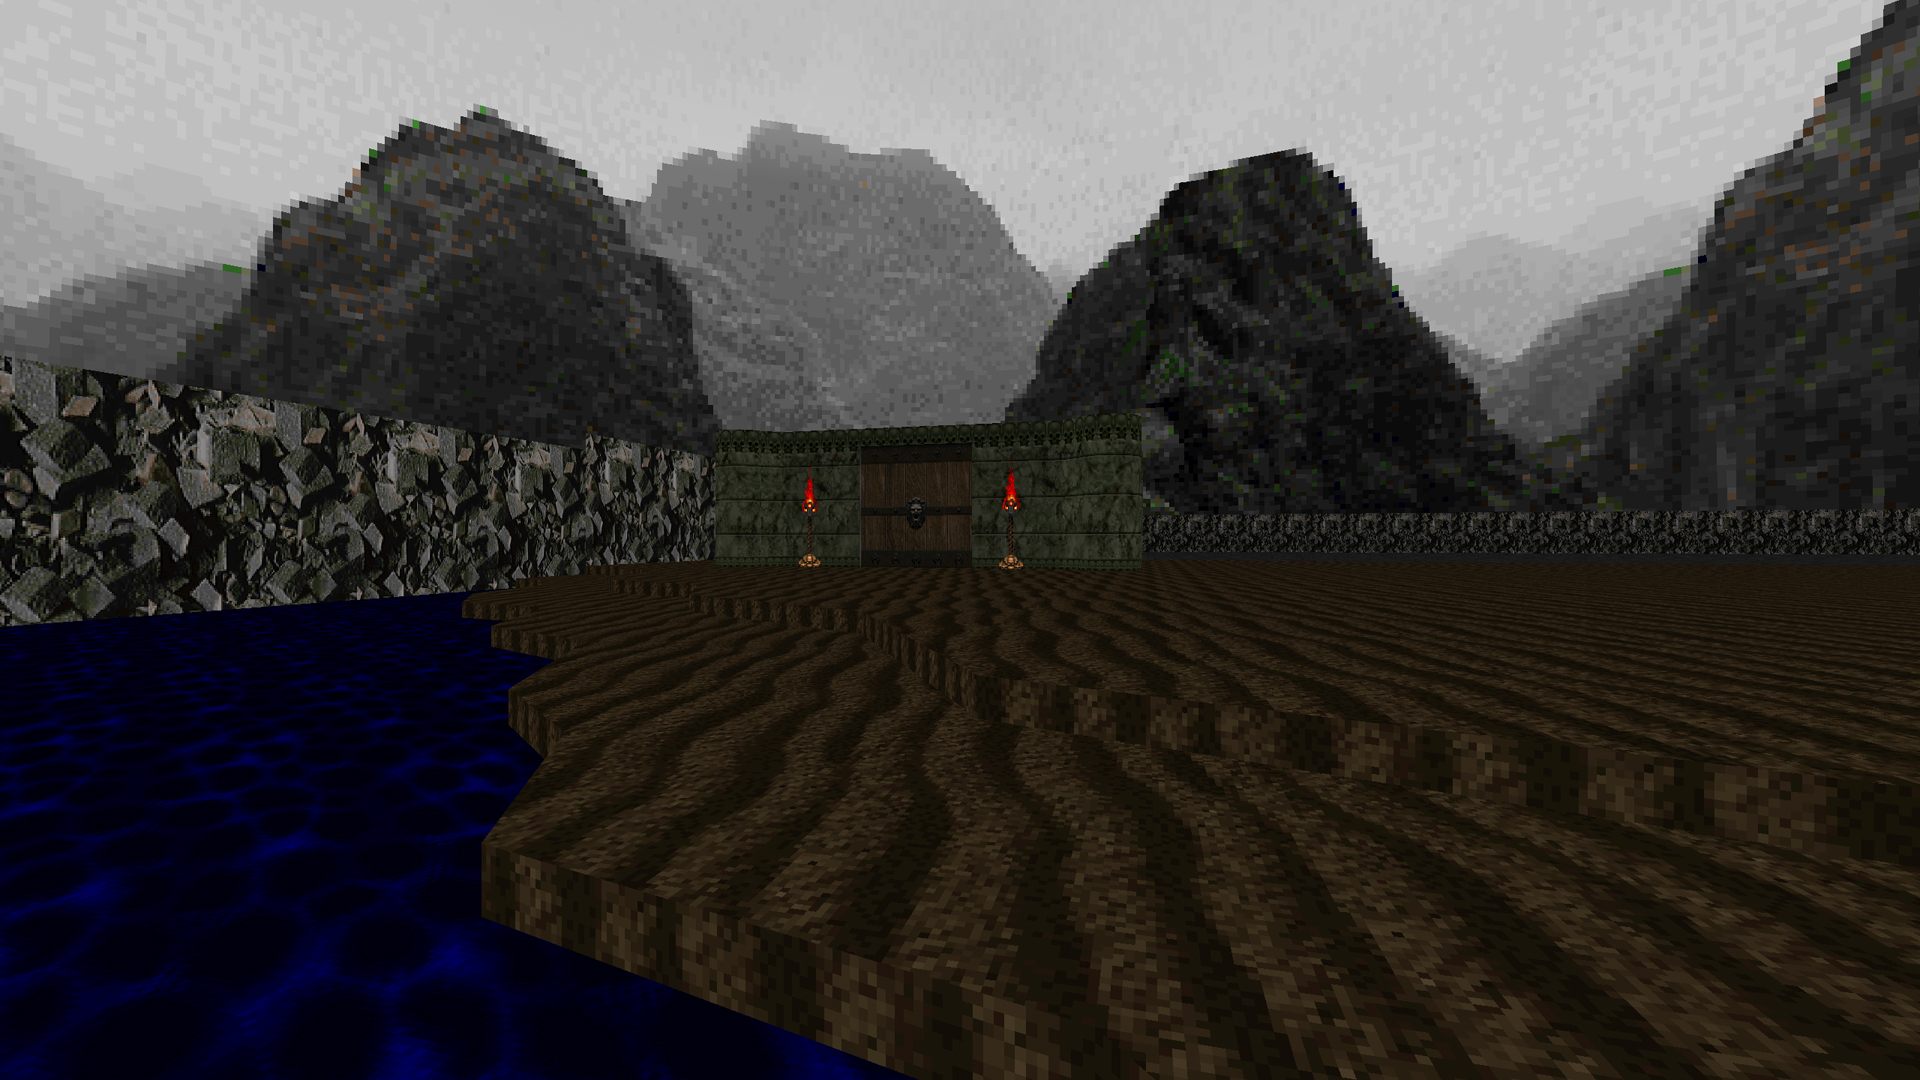
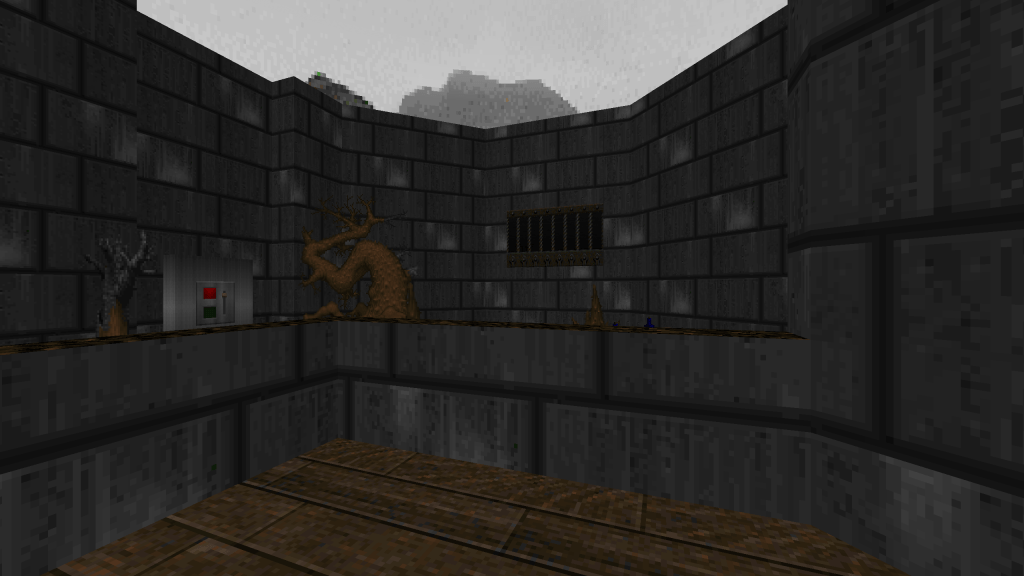
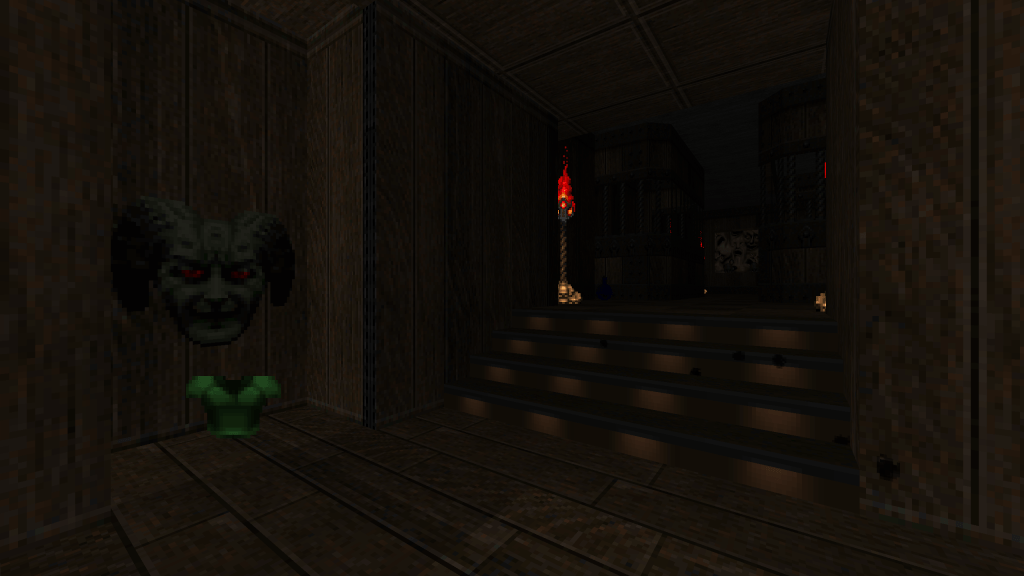
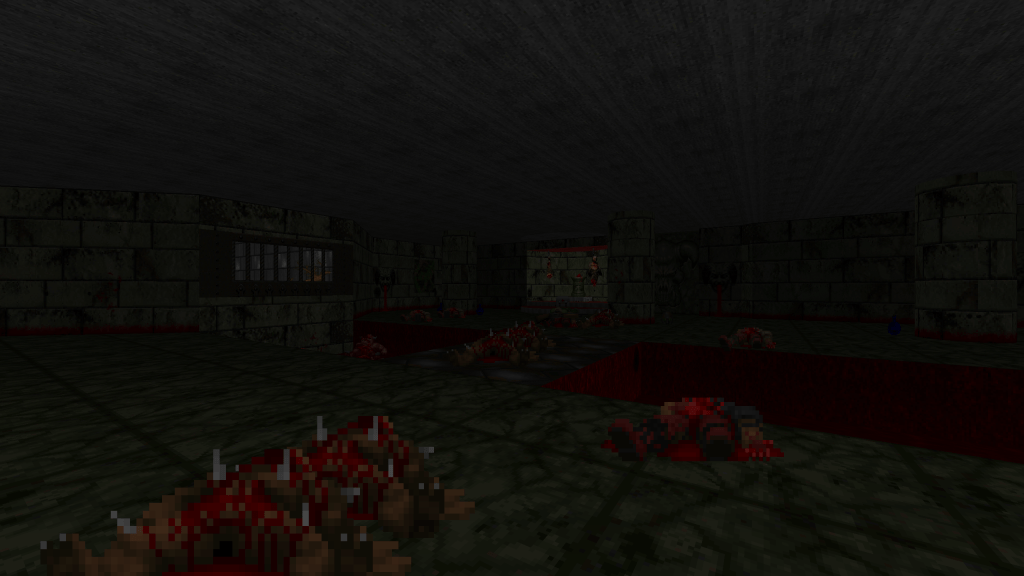
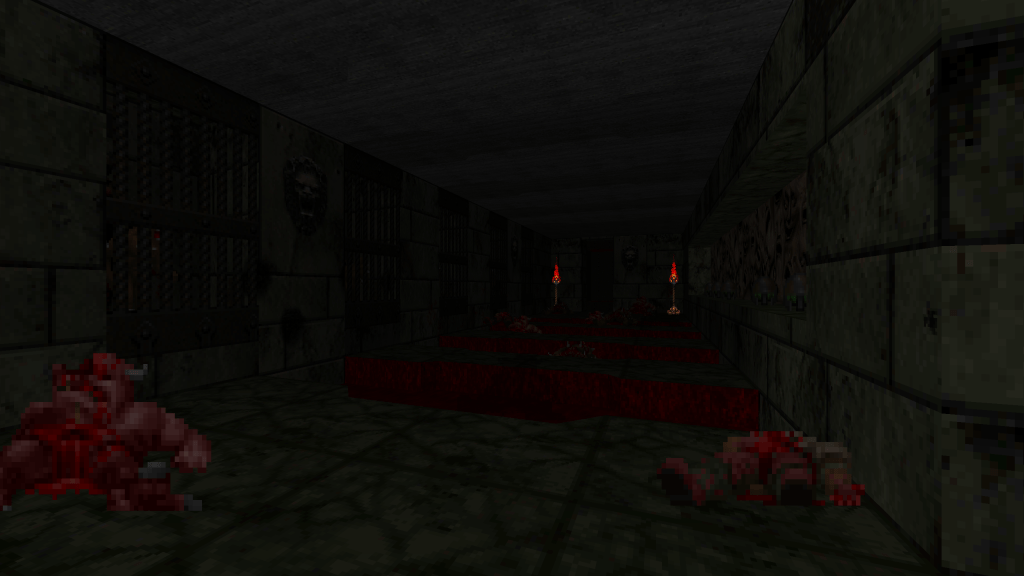
The opening scene.
I started without any ideas or plans. I began creating rooms and hallways, and decided to see where it took me. The result was a classically-inspired Doom level without the need for jumping and free-look, something modern source ports provide. The goal was just simple designs with some tricks and traps. I also really enjoyed the idea of a more-restricted set of textures and enemies compared to Doom II. The last guiding principles were taken from John Romero when talking about the design of E1M1.
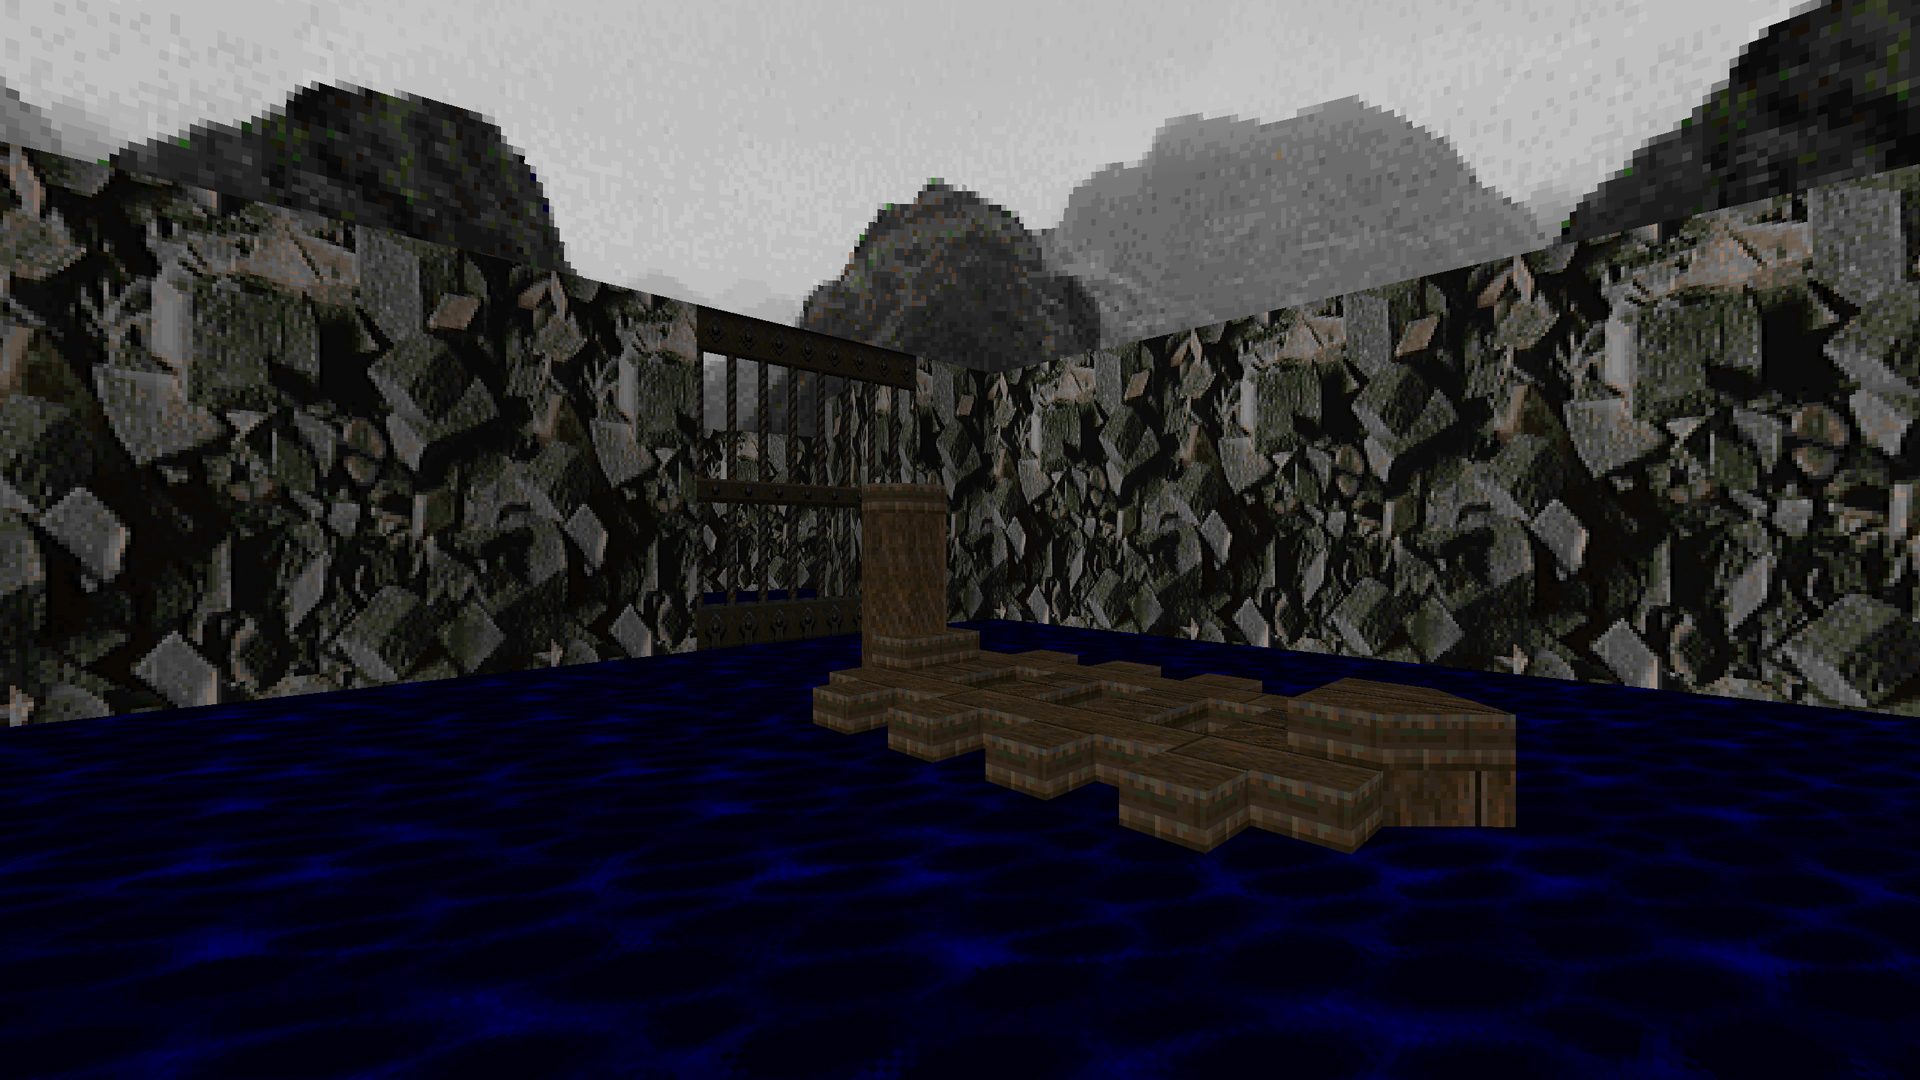
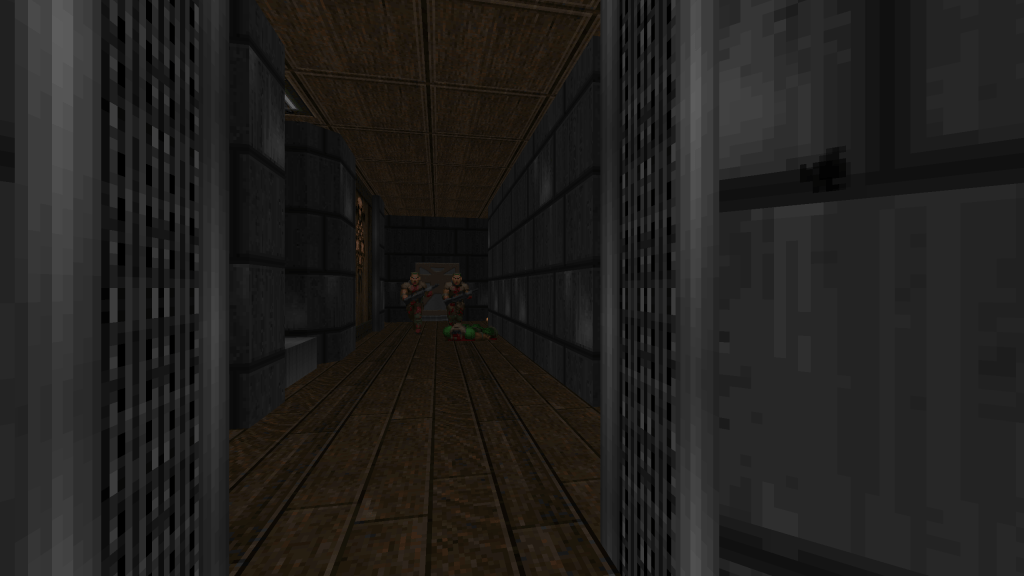
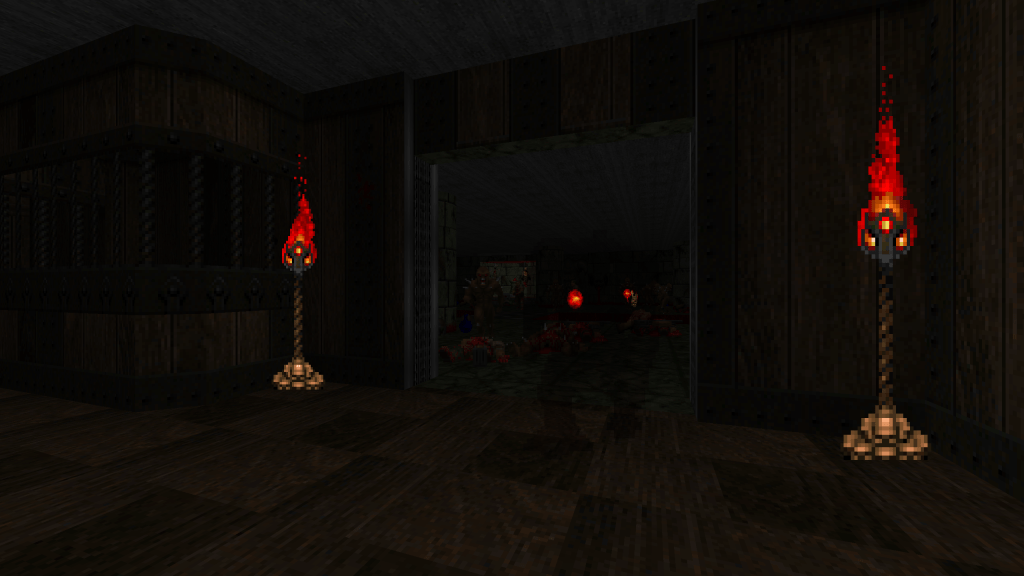
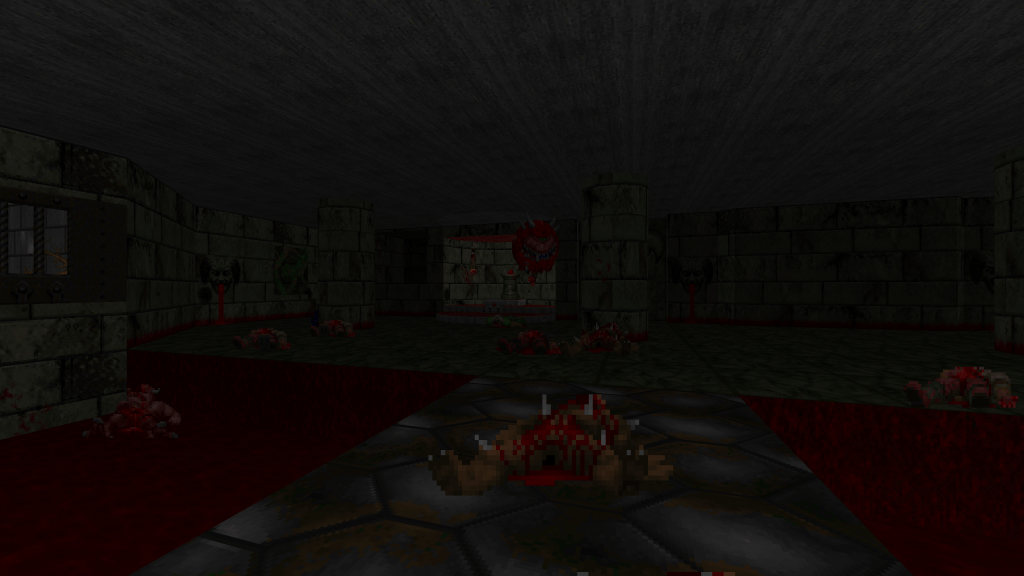
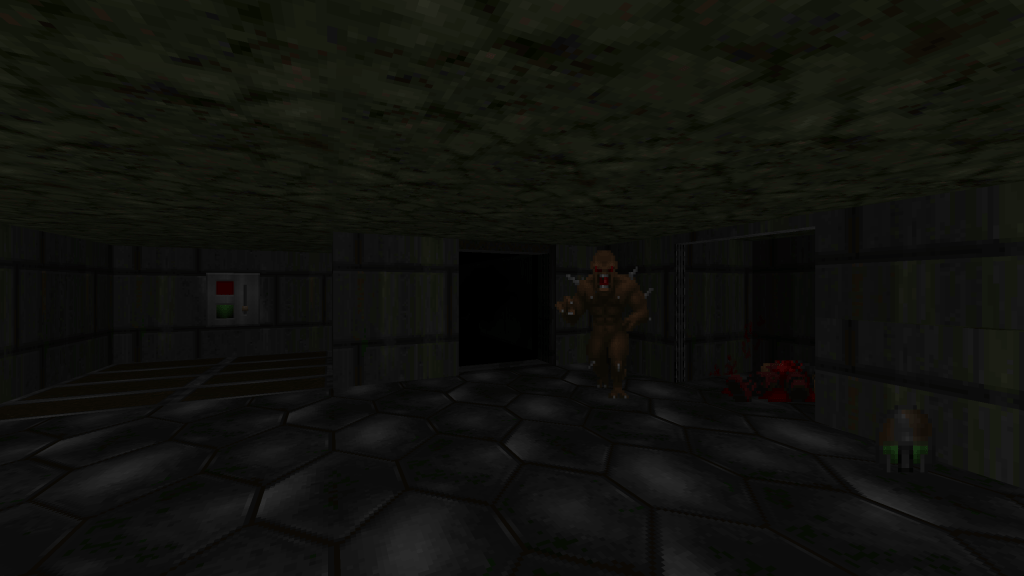
Look out!
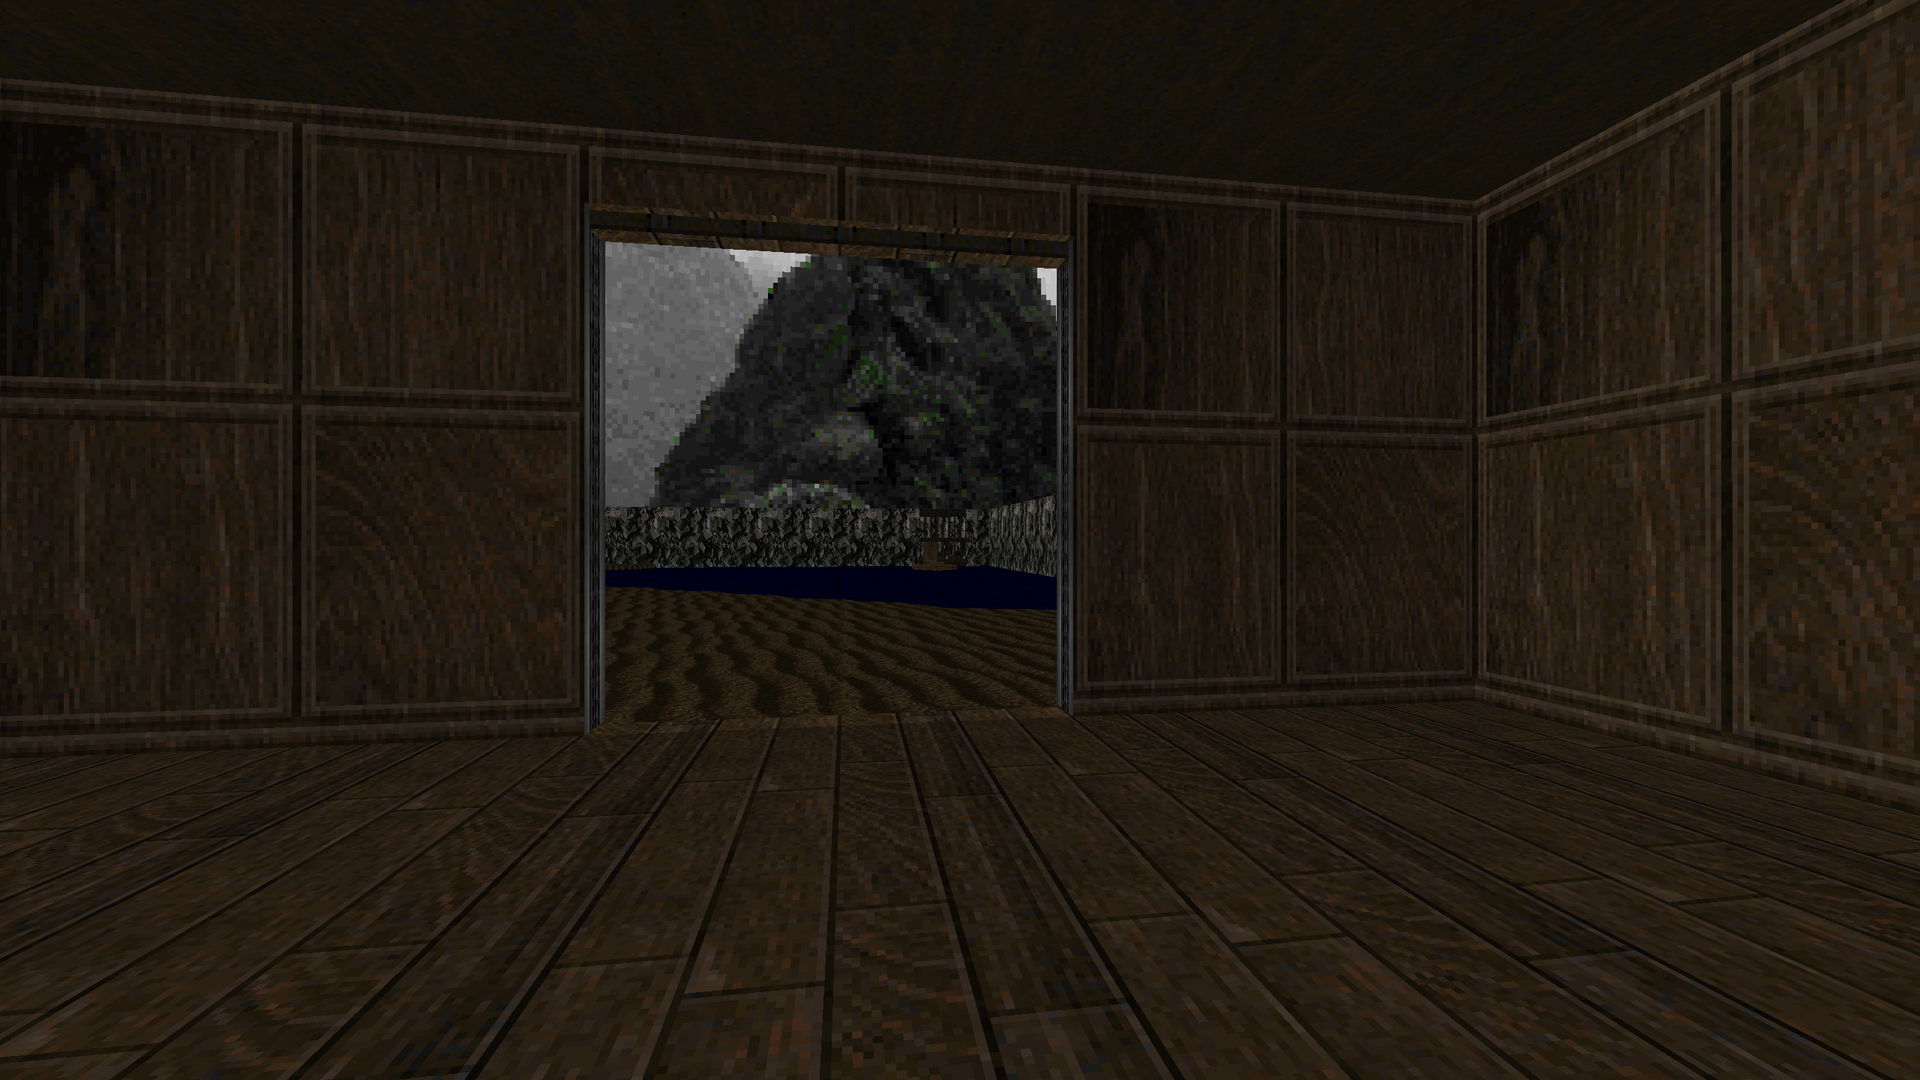
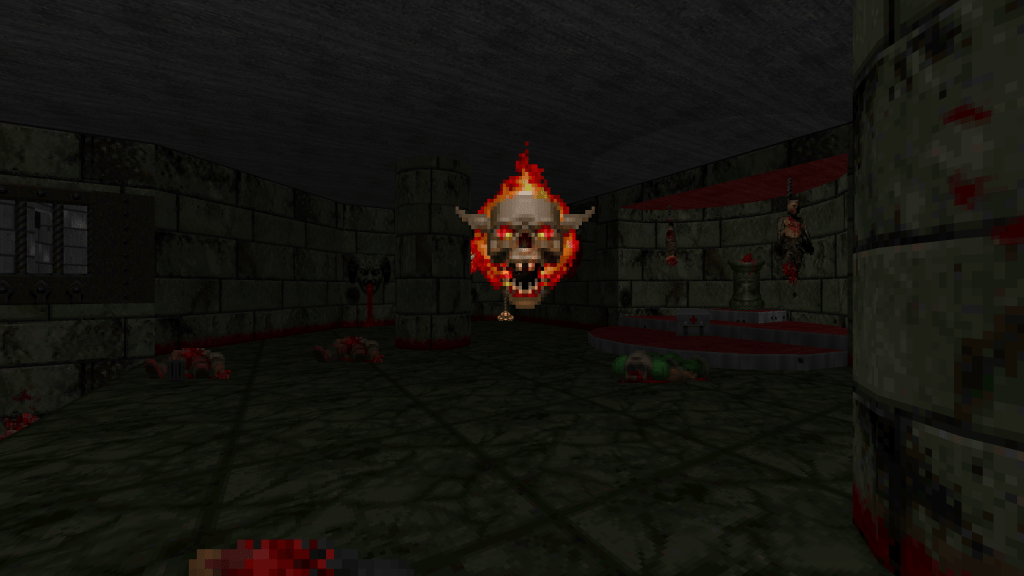
The inside of this structure sure is dark. I forgot to mention that I wanted to attempt an atmospheric setting with the use of subtle light changes. I probably still need to increase the overall sector light level, though.
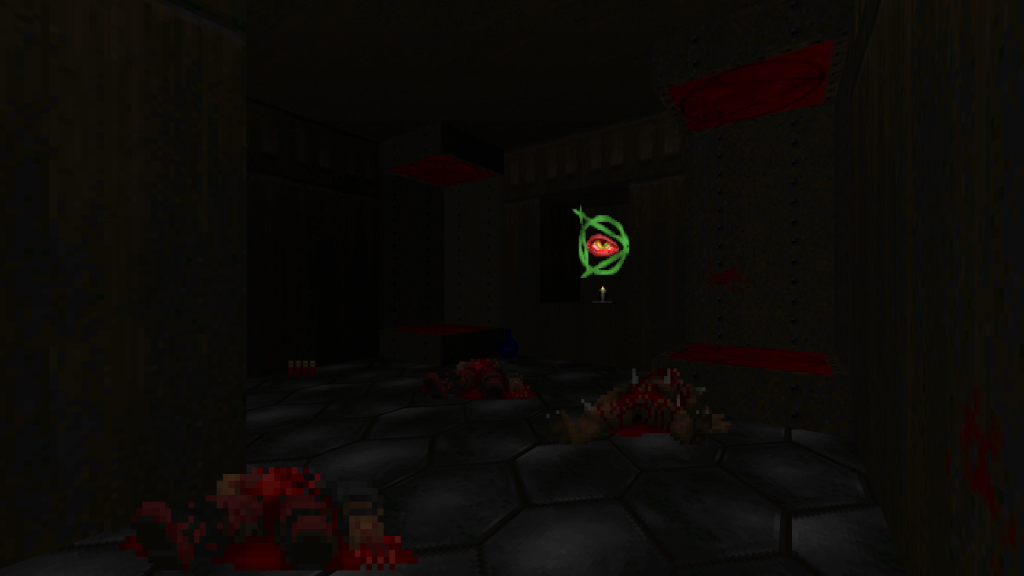
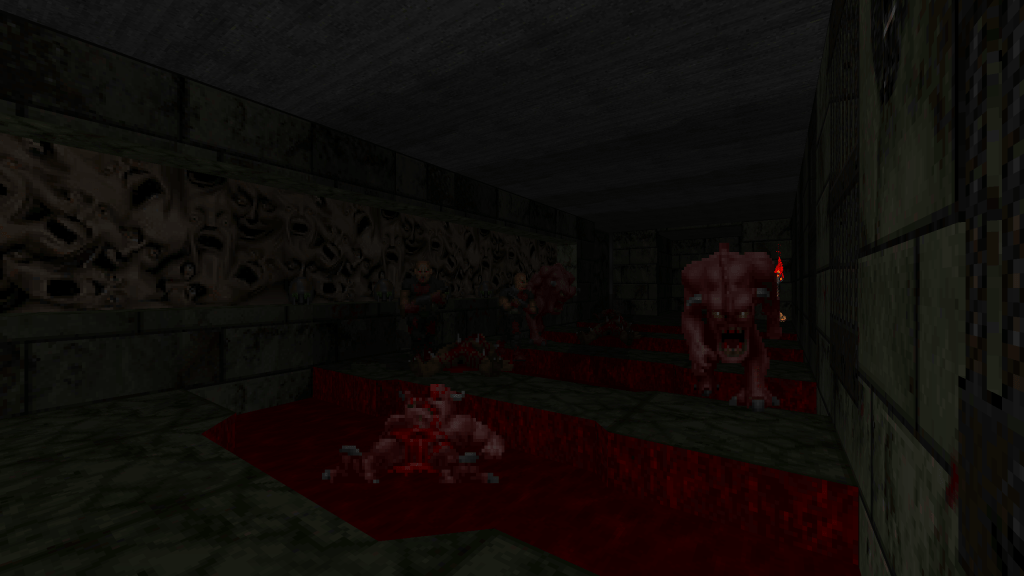
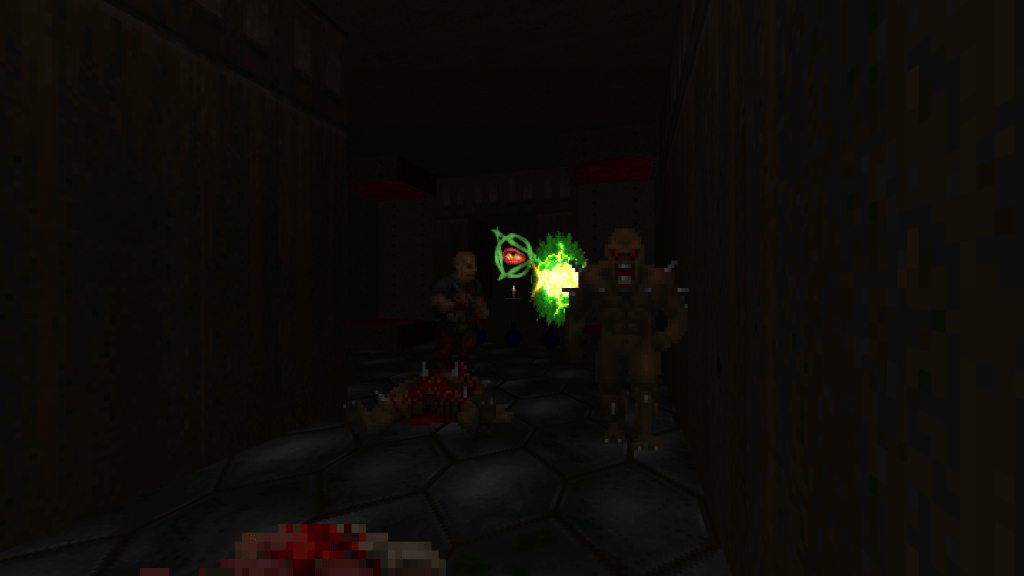
This next gif showcases my spooky tunnel attempt.
Very scary.
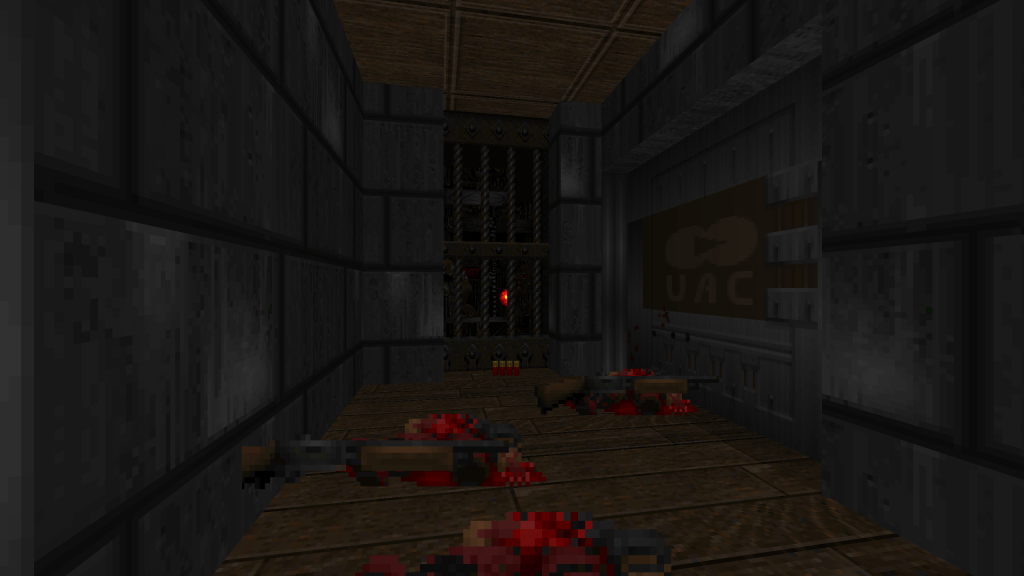
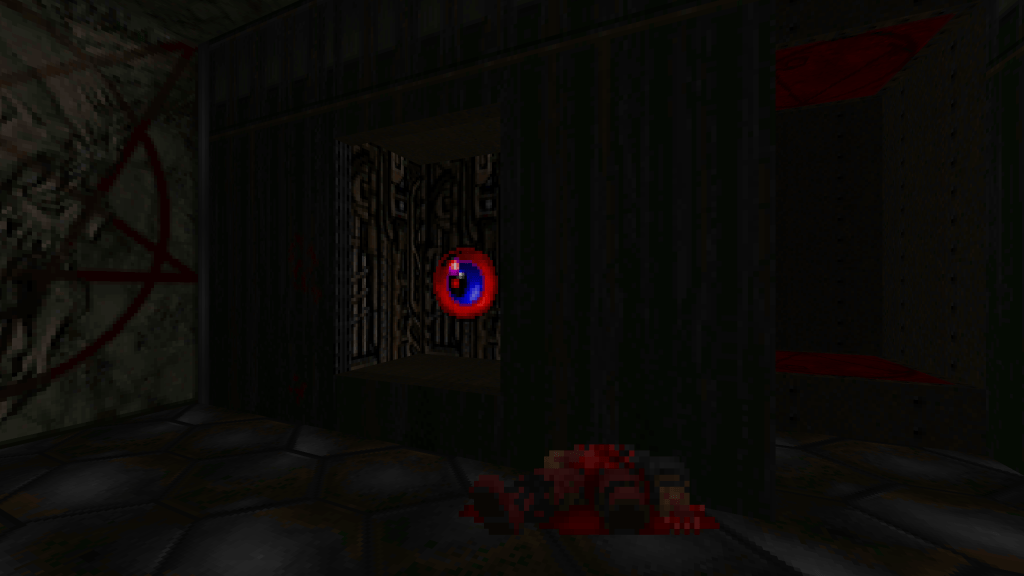
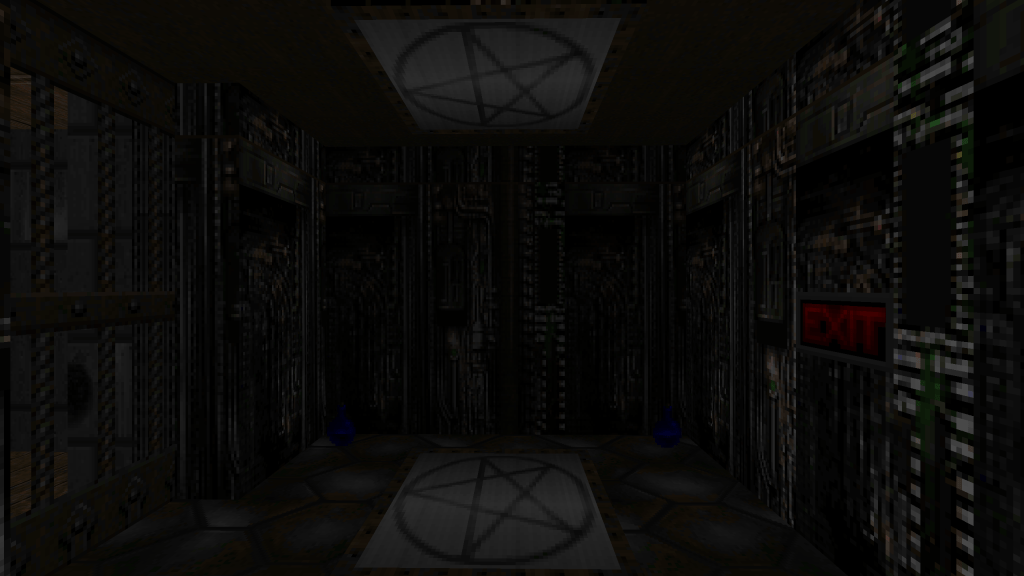
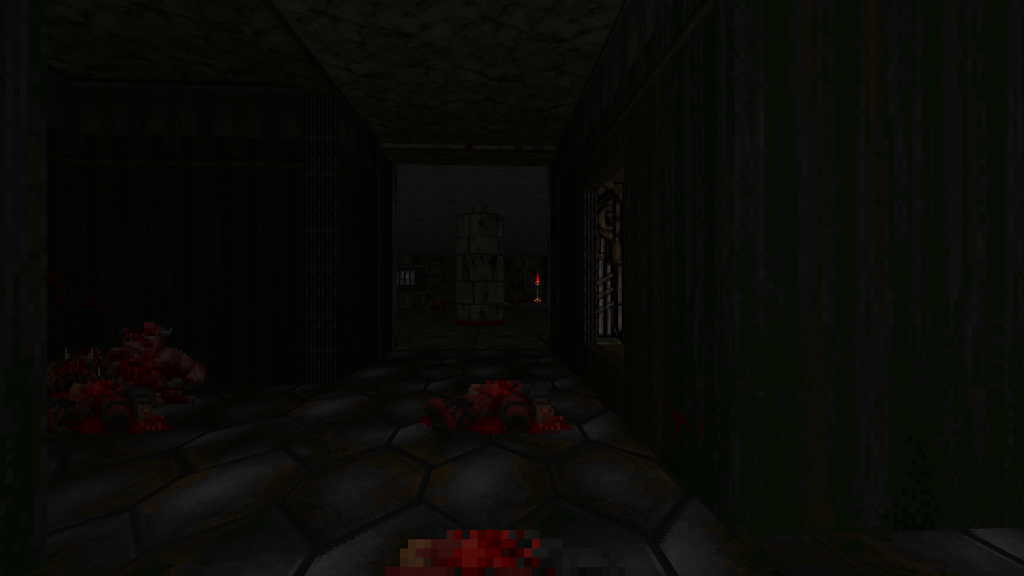
I suppose that about sums it up. I’ve managed to infuriate one friend over the level, and it won’t be the last. I’ll end with the following slideshow of screenshots and gameplay footage I took from the level.
I have a lot of problems. And all I’ve managed to do is drill and paint a few enclosures.
I realized I was still missing a few parts and there were substantial delays in one of my orders that contained the majority of parts I needed to really get started. I should be go to go for the weekend, but I already have plans. Work will mostly depend on my health, which is also the second, larger reason for delays.
I really love my migraines. They allow me to do so little and accomplish nothing. But by far the best part of it all is the dizziness! I feel just like I’m on a tea cup ride that won’t stop spinning. I have this and some other underlying causes to blame for not being well enough to really do much, let alone build guitar pedals these past few weekends.
One goal I have been struggling with is to consistently post once a week. This is irregardless of the content, really – for me it’s important to just establish the habit first. Unfortunately, between my regular day job and health issues, this has proven quite difficult so far. All I have left are the wise words of my idiot doctor, “stay hopeful.”
I’ve been playing guitar on and off for about 15 years now, but only recently have I discovered the wonders of guitar pedals. My typical setup was just a noise suppressor and a Tube Screamer-like overdrive in front of my amp. However, a few conversations with a co-worker finally convinced me to re-think my usual setup. In the past year I’ve attempted to make up for lost time and have purchased a plethora of pedals. With my newfound love for pedals I decided I wanted to build a few myself for fun.
I had gone down this path before about a decade ago when I was still in college. Many of my friends were electrical engineering majors and so I was always curious about circuit design. I never built any pedals back then, but I did manage to build a dummy load with four 50W resistors to use my tube amp without a speaker.
Fast-forward to today and the rabbit hole has never been deeper. After discovering Mod Kits DIY, I immediately ordered one of their simpler pedal kits to get a feel for what I was about to get myself into. Expect an additional post with some details about this pedal.
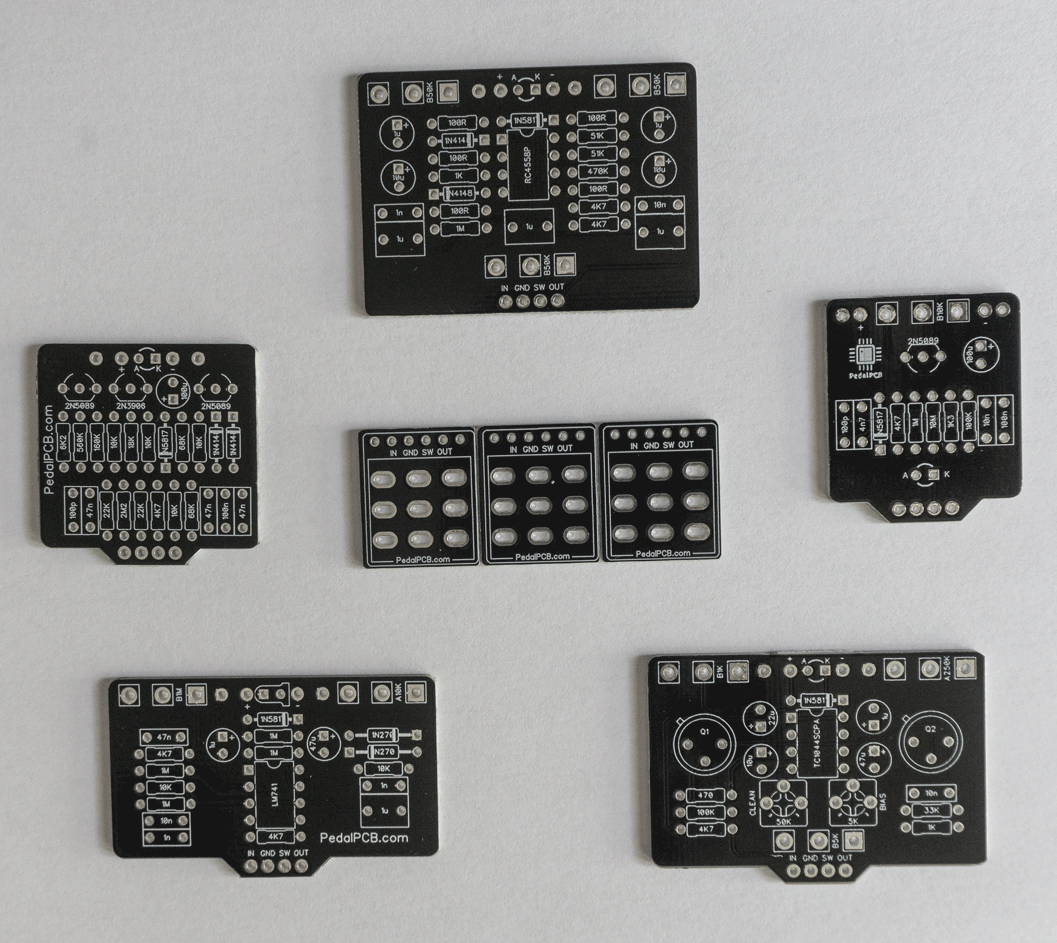
My first pedal was a success, so I went looking for more to build. I then came across PedalPCB, where I could buy PCBs of cloned guitar pedals. I’ve now purchased five boards, which you can see below, and am awaiting the final set of parts to arrive so I can begin building.
Clockwise from top: BB Gun Overdrive, Amentum Boost, Sunflower Fuzz, Distortion 250, and Squidward. The center boards are for convenience when wiring a 3PDT switch.
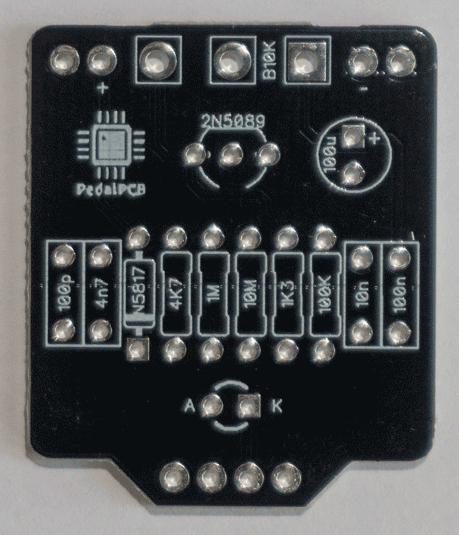
My plan is to first build the Amentum Boost, a clone of the EQD Arrows. While I have all the parts and components I need to get started, I am still missing the potentiometers for all of these projects. I would have to calculate the exact cost, but for somewhere around $20 I’ll be able to build a pedal that would normally sell for $100.
Expect posts for all of these projects as I get to each one. There are also some enclosures I’m waiting for in the mail. I do happen to have one ready and pre-drilled for the Amentum though.
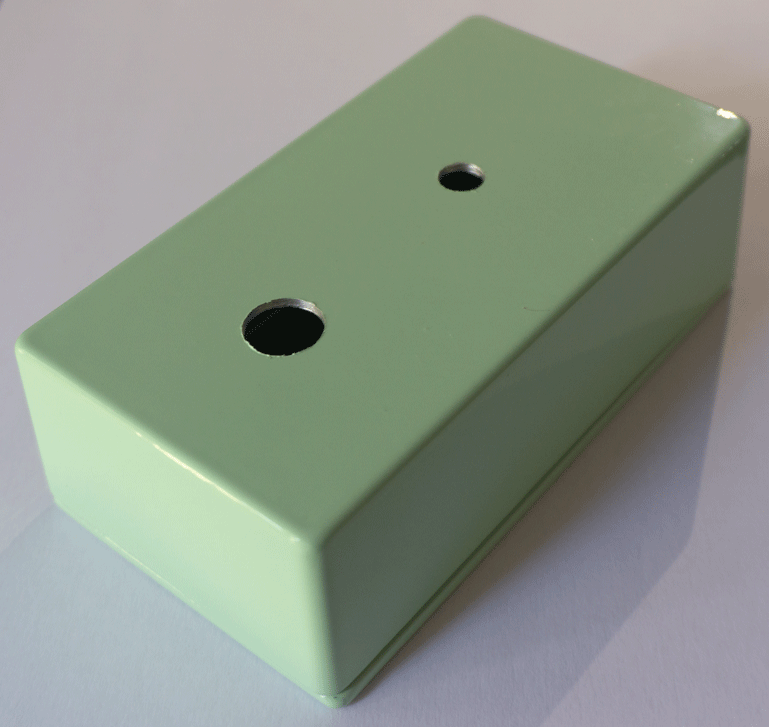
Overview of enclosure. Bottom hole for switch with a single hole drilled for the potentiometer.
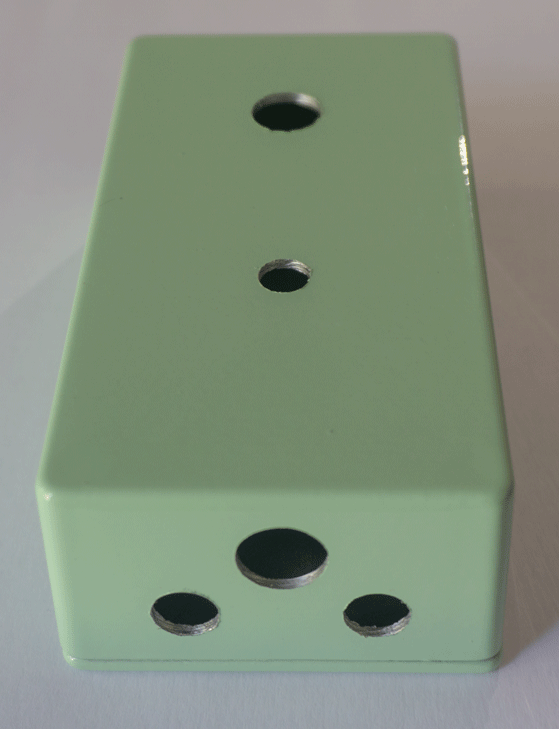
Alternate view where you can see the top-mounted jack holes (audio and power).
I’m really jealous of the quality of these PCBs. I certainly wish I was able to design and print my own!


You must be logged in to post a comment.